How to Setup Reference Images in Maya 2017
Setting up reference images in Autodesk Maya based on previous 3Ds Max tutorial: https://www.youtube.com/watch?v=WJHJdI3gsXU
No sound / no narration – Download start file: https://anetav.art.blog/2016/12/13/how-to-setup-reference-images-in-3ds-max/
Maya Hotkeys for this tutorial:
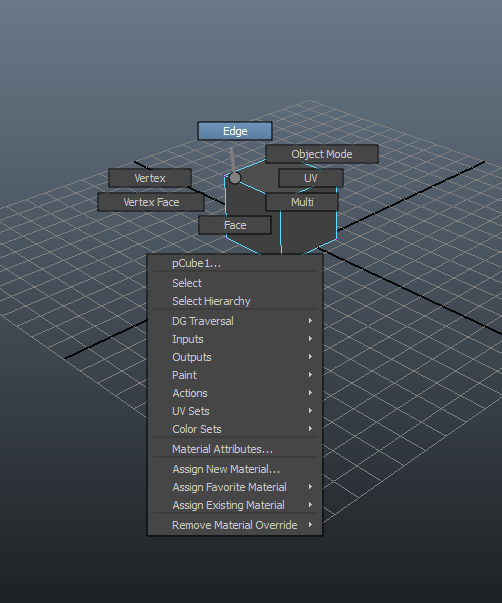
- Right click over object to display right click menu:RMB

- “6” Shaded and textured display
- Hold down letter “D” to move pivot point
- Insert keyboard: Enter tool Edit mode
- space (When pressed down) Show the hotbox
- Panel switching with space bar
| Tumble, Track, or Dolly | ||
|---|---|---|
|
Alt |
Left mouse button |
Tumble Tool (press and release) |
|
Alt |
Middle mouse button |
Track Tool (press and release) |
|
Alt |
Right mouse button |
Dolly Tool (press and release) |
Text from video:
- Create plane and change subdivision to 1×1.
- Rotate plane 90 degree on X-axis and rescale to your liking.
- Apply Backface culling so face is visible from one way.
- Move face to the back.
- Move pivot point to the center; click letter “D” and use move tool.
- Next duplicate and rotate face;
– reset settings
– for this particular part, you need 4 copies and 90 degrees (360/4=90)
- Apply new material to each plane and add your reference image.
- Hit “6” on your keyboard If you do not see your reference.
- Apply new material to each plane and add your reference image.
- To freeze planes in the view use layers; select all planes and under layers click Create a New Layer and Assign selected object.
- Name layer and freeze by clicking twice on last check box next to the layer name.
- Hit “6” on your keyboard If you do not see your reference.
