3Ds Studio MAX 2017 UV Mapping / Unwrapping Tutorial
Download start file: 3Ds Studio MAX 2017 UV Mapping_Lecture Files
1. Check your geometry.
2. Go to Modify- Modifier List pull-down menu – > apply UVW Mapping Clear.
3. Right Click over UVW Mapping Clear-> Collapse To-> yes
4. Go to Modify- Apply Unwrap UVW.
5. Under Unwrap UVW, select Edges  and select edges on your character where you want to break up the object’s texture coordinates into smaller groups known as clusters.
6. To create loop selection use Loop:  XY Edges
7. To Cut /break texture coordinates use  Convert Edge Selection To Seams.
8. Under Unwrap UVW modifier, select  Polygon and click on one of your clusters.
9. To select whole cluster click  Expand Polygon Selection to Seams.
10. Next in Projection Rollout click  Planar Map and in Align Options group choose best projection for your model.
11. After that Click  Quick Peel and in UVW’s editor you can see your unwrap map.
12. Repeat process for other clusters as well and please remember that final results depend on quality of your mesh and cuts that you just made.
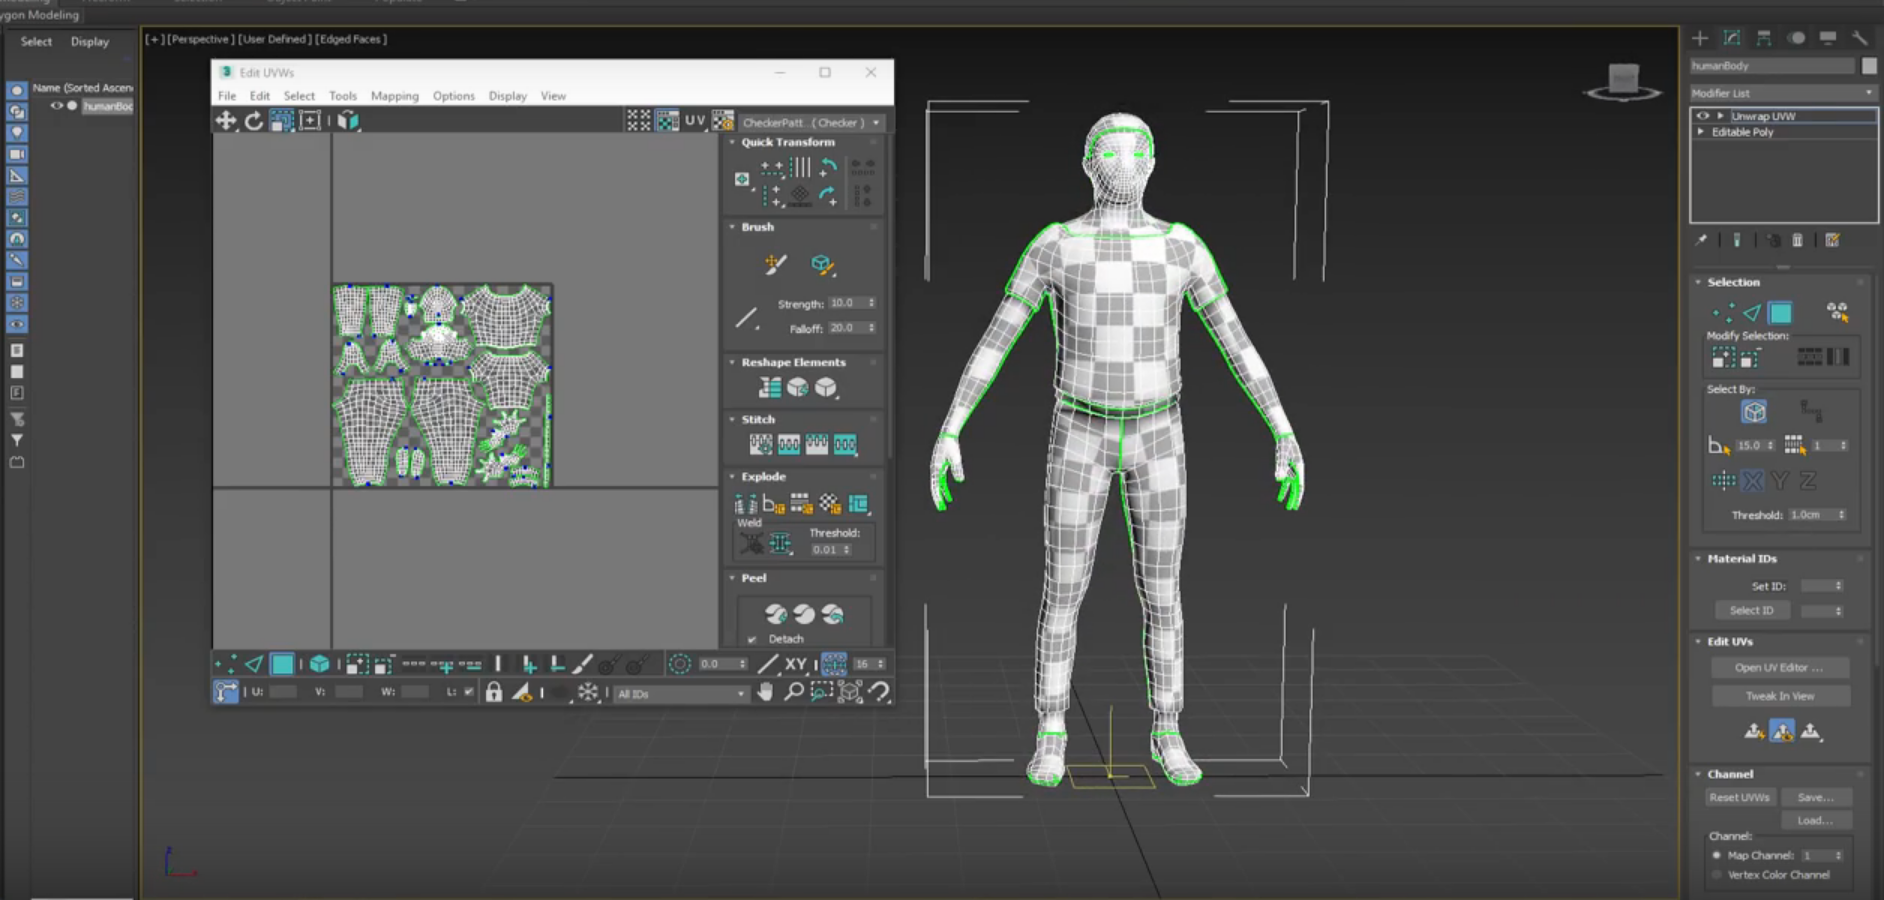
13. When you complete unwrapping clusters, go to Edit UVWs window and click two buttons:  Rescale Elements and
  Pack Custom option. This will rescale and arrange UVW clusters.
14. Organize Clusters to your liking.
15. Render and save Your map.
16. Preview your map on character -> apply checker pattern from edit UVWs dialog window (right corner).
